SQL is a standardised programming language used to manage relational databases and perform various operations in the database records, tables, triggers, etc. While performing different SQL operations on these database objects, sometimes SQL Server Administrators delete tables using the DROP Table statement as given below.
DROP TABLE <Table name>
Table of Contents
Recover Data Deleted In SQL Server Using Backup:
It may take place that while working, you may accidentally drop a table containing your data. Instead of worrying about it, you can use Sysinfo SQL Database Recovery
or look for a full database backup of your SQL server. But make sure that the backup is the latest and that no changes have been made after the table got dropped in the SQL database. If these conditions are fulfilled, you can restore the database from a full backup using SQL Server Management Studio.
How To Recover SQL Data From Dropped Table Without Backups?
SQL administrators who have full database backup can use the mentioned methods. But there can be some administrators who do not have a backup or updated backup of the database. The users can retrieve the drop table if the SQL server database is in full recovery mode. For that, the transaction with the drop operation must be active.
Every SQL administrator should know that a logged transaction log is generated for every DROP or other SQL operation. It stores the information about the table that was dropped.
Note: Suppose a user has executed the drop table operation in a SQL server database, but the transaction is not committed previously. Then the information can be rolled back.
The commands which you can run as an SQL administrator to Roll Back the transaction are:
BEGIN TRAN
DROP TABLE <Table name>
ROLLBACK
SELECT *
FROM <Table name>
Once you run this command, you will be able to recover deleted table in the SQL server. And get it to its original location with the help of the active transaction log containing the DROP operation.
Issues That You Face When You Have Backup And When You Do Not Have A Backup:
Some problems can be faced while running commands in the SQL server. A user will need administrative rights to run these commands and technical skills to perform the methods. A user will not be able to perform the above functions if the transaction log containing the above transaction is committed. The transaction log must be in an active state. Otherwise, the data stored within that table will get deleted.
Best Option To Recover Dropped Table In SQL Server Without Backups:
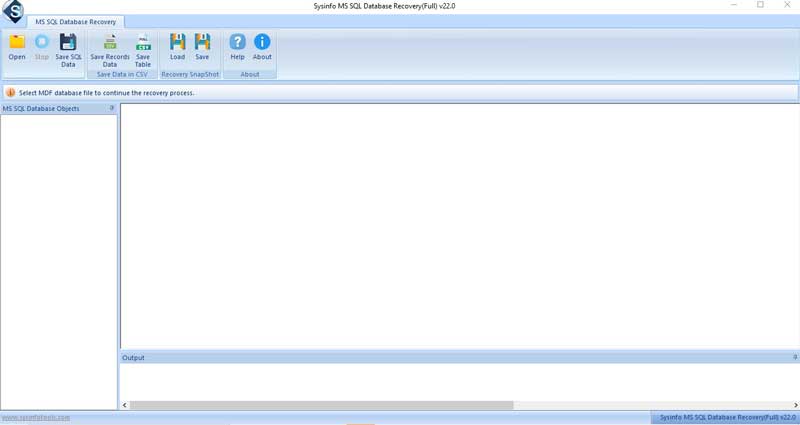
If you do not have a full database backup, you can use a Professional tool to restore the data. The Sysinfo SQL Database Recovery is a comprehensive windows-based product and supports all SQL servers that help in dropped table data recovery in SQL servers. There is no need to take backup while restoring with the help of this tool. It retrieves data from corrupted MS SQL database files and repairs database objects like tables, views, stored procedures, programmability, etc.
The tool can also handle various common errors that pop up in a corrupted MS SQL database. Using this tool, one can Recover Dropped Table in SQL Server. Moreover, users can also fix SQL Server Database Not Accessible problems.
The tool offers many more features. Let’s see some key features to get a better understanding of it.
Key Features Of The Software:
- The tool comes up with the dual recovery mode i.e. Standard or Advanced.
- Choose, the desired folders from the tree structure after the recovery process to save them into a new Database file.
- The tool is compatible with all types of versions of the window.
- The software can recover files of any file size limit.
- Users can preview the recovered database files before saving them.
Now, that you are clear with the features and introduction to the tool. Let’s move on to the steps to start the recovery process.
Steps To Recover Dropped Table In SQL Server

- Download and Install the tool.
- Select the database files by clicking on the “Open” button.
- Now choose the recovery mode i.e. Standard or Advance.
- Once the process gets completed, choose the file from the tree structure you want to recover.
- Click on the Save SQL data button to start the restoration process.
- Click on the SQL Server Database option and,
- Choose one: Windows or Server Authentication.
- We are selecting here, the Server Authentication option.
- Enter the user name, password, server name, and database name and click the test database connections button.
- Finally, click on the Ok button to start the restoring process

Conclusion:
In this article, we have discussed various methods to recover dropped tables in SQL servers. Some of the methods were native, but users must switch to a professional tool for a hassle-free process, as stated in the article. I hope that this post will help you in solving the query.

 About the Author:Mohd Danish is a Profesional Technical Content Developer with over 2 Years of Experience. He has excellent knowledge in content writing in the field of Data Recovery, Email Migrations, Cloud Migration and Database Management. He loves to research and develop content that helps Office users, professionals, administrators, enterprises, and novices to fix multiple problems. Read more for How to Recover Dropped Table in SQL Server with the help of Sysinfo


Be the first to write a comment.