This plugin allows you to save files in the Windows .ico format, suitable for desktop icons and website favicons.
The file should be one of the following resolutions: 16×16, 32×32 or 64×64.
To Install the Plugin?
If Photoshop is open, close it.
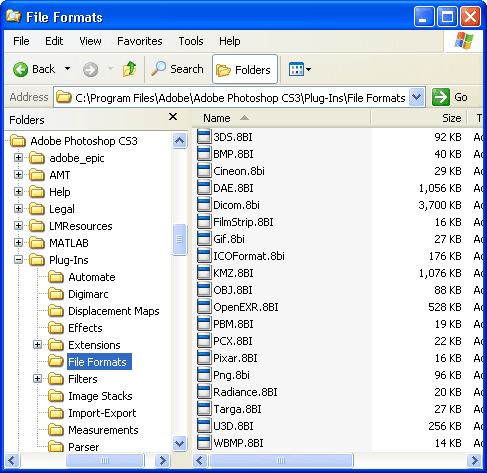
Extract the downloaded file (e.g. unzip it in Windows) and move the plugin file to your Photoshop Plug-Ins folder, under File Formats. The default location of this folder in Windows is shown on the right.
Note: The plugin file will will have a name that begins with “ICON” And “Cursor”.
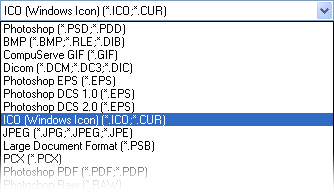
Start Photoshop. Create or open a file with one of the correct dimensions (see above) and select File > Save As. You can now choose .ico as one of the format options.


Be the first to write a comment.